Before you start this tutorial, you should have the knowledge about, how to create an ASP.NET MVC web application.
MVC stands for the model- View- controller.MVC is an architectural pattern for developing applications that are well architectured, testable and easy to maintain.MVC application contains:
Model: classes represent the data of the application. A model does not depend on the controller and view classes.
View: Display the model data and send user action (button click) to the controller.
Controller: provides the model data to the view and interprets user actions like button click. the controller depends on the model and the view.
Controller
Let 's start by adding a controller class in MVCProject.In Solution Explorer, right click on the controller folder and select controller.

In the Add scaffold dialogue box, select MVC 5 controller-empty and then click Add.

Name your controller FirstTest, and click the Add button.

Notice that in Solution Explorer, a file FirstTestController has been generated and a folder name FirstTest has generated at the path Views/FirstTest.

In the controller class, add the following two methods.
//
// GET: /FistTest/
public string Index()
{
return "This is my <b>default</b> action...";
}
//
// GET: /FistTest/Welcome/
public string Welcome()
{
return "This is the Welcome action method...";
}
The controller is named FirstTest and a first method named is Index.both controller methods will return a string as an example. Run the application, in the browser, append "FirstTest" with the URL (For example in the below illustration I appended "FirstTest in the address bar"). The page in the address bar will look like the following screenshot. Above method in the controller will return the only string.

The default URL routing logic used by ASP.NET MVC uses a format like this to determine what code to invoke.
/[Controller]/[ActionName]/[Parameters]
We can set the routing format in the App_Start/RouteConfig.cs file

when we run the application and don't append any segment in the address bar.it default to the "Home" controller and then "index" action method as specified in the above code.
The first part of the URL is controller like \FirstTestController.The second part is the action method index like /FirstTestController/Index. In the above example, we had only append FirstTest controller class and it called by default index method. the third part of URL is parameters which are for route data.we will discuss later in this tutorial.
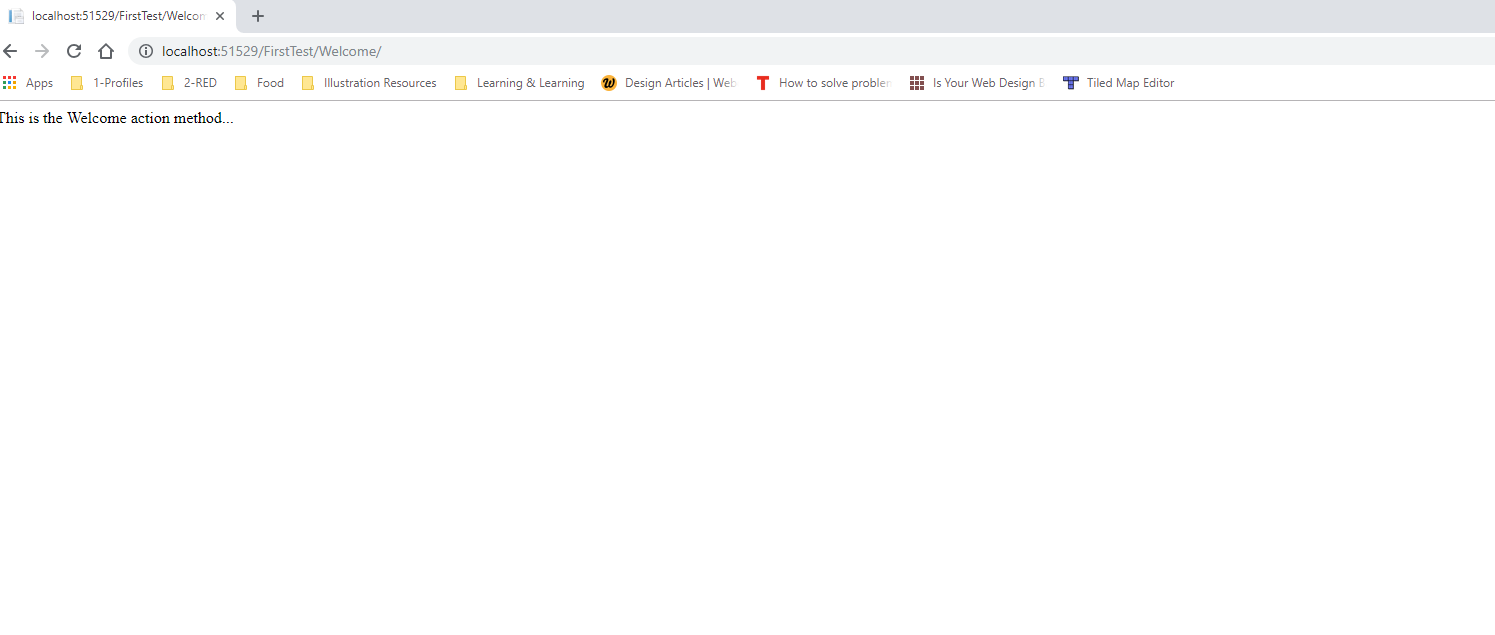
Let's call the second method of FirstTestController class. Run the application again and append FirstTest/Welcome.this will return the following string.
Let's modify the example slightly so that you can pass some parameter information from the URL to the controller (for example, /FirstTest/Welcome?name=Sarah&numtimes=3). Change your
Welcome method to include two parameters as shown below. Note that the code uses the C# optional-parameter feature to indicate that the numTimes parameter should default to 1 if no value is passed for that parameter.
public string Welcome(string name, int numTimes = 1)
{
return HttpUtility.HtmlEncode("Hello " + name + ", NumTimes is: " + numTimes);
}
Run the application and browse to the example URL (
http://localhost:xxxx/FirstTest/Welcome?name=Sarah&numtimes=3). We can try different values for name and numtimes in the URL. The ASP.NET MVC model binding system automatically maps the named parameters from the query string in the address bar to parameters in your method.
In these examples, the controller has been doing the "VC" portion of MVC — that is, the view and controller work. The controller is returning HTML directly.
Now you have the knowledge about the how controller classes work using routing configurations. In another article, we will get the knowledge about the "View" part of the MVC.
Happy Programming :)
Comments
Post a Comment